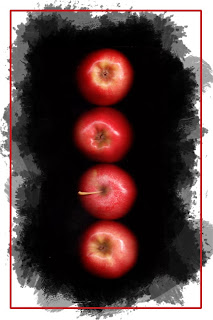
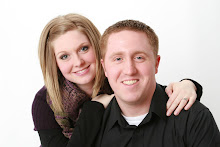
1. Apple 8 x 10 to Print
2. Apple 4 x 6 to Print
For this effect I was able to use the Flexible Brushed-on Effect. I started with my apple scanned image, added a new layer, then added a black mask to the apple image. I was then able to use the Heavy Brushes at various opacities to get the effect that you can see. I then selected the area for a border using the rectangular marquee tool, went to edit-stroke and added a heavy stroke that matched the color that I selected from the apples. Overall, I thought that this ended looking pretty good!


0 comments:
Post a Comment